
Dating back to the beginning of the year, plus the year before, plus the past six years, I have done my fair share of reading up on rabbit care and learned a lot. Six years with a rabbit (Ryu, female, mini rex mix, adopted, awesome) have been the happiest of my life and she has been nothing but a blessing to me. She reduces me to nothing but baby-talk and I often tell people that she could end a man's life and I would still adore her to the end of the Earth.

(My Instagram: smellslikeinternet / I constantly post photos of my rabbit.)
It was around October of last year when I stumbled upon an info-graphic on tumblr.com that explains the effects of keeping your small animal in a store bought pet cage. The majority of cages sold in pet shops are often inadequate for maintaining your bun's physical as well as mental well-being. A common misconception of small animals is that they'll be all fine and dandy if you leave them with food and water in their cage. This is so so so false especially with rabbits. If you consider for a moment how much rabbits run in the wild, you'll realize that rabbits with even the most extensive, large cages still need a minimum of a few hours outside of their cage so how could they live in the tiny spaces pet stores are selling us? This allows them to stretch their legs and partake in a variety of mentally stimulating activities. That requires its own post though.
And here are a couple of my go-to rabbit care resources on indoor rabbit housing:
And of course, many more!

Here she is in her old cage where you can see she's already taking up the majority of the space. With the addition of her log tunnel and litter box occupying half the cage, she barely had room to move. At least she could climb on top of the log tunnel and you can see just the corner of her hammock that she always enjoyed climbing on. But considering the amount of time I am out of the house and unable to supervise her while she runs amok, I knew it was time to upgrade her home.
The search for a decently sized, and decently priced rabbit cage was a mission of very awkward Amazon searches that never failed to include rabbit vibrators in my search.
In summary, a rabbit's cage needs to be at least three hops long and about two hops wide and tall enough her her to stretch upwards on her hind legs. Out of all the bunny blogs I've been reading, the best idea for me to execute with my limited construction skills was to assemble my own cage using wire storage cubes.

We picked up two packs of these from Wal-Mart which contains squares with a smaller grid as well as squares with a larger grid and connectors. In total we had eight large grids, ten smaller grids and about thirty-two connectors. This was enough to make the cage three grids long, two wide and two tall (2.13m x 1.43m x 1.43m) plus a two-grid shelf to provide climbing opportunities!

Assembly begins!
These wire storage cubes are so simple to put together. Neither of us are exactly architects (yet) but I would say we pulled this off fantastically.

Here's a better shot of the full cage. It features a second-level shelf that we have a ramp to (bur the bun can easily jump up and down from there on her own), a swinging door that we have yet to attach and a partially open ceiling both for easy access to feeding her, cleaning and...the fact that we ran out of grids to finish the ceiling completely. But regardless, I love it! We just made sure all the connectors were secure before moving onto the flooring.

Weapon of choice.
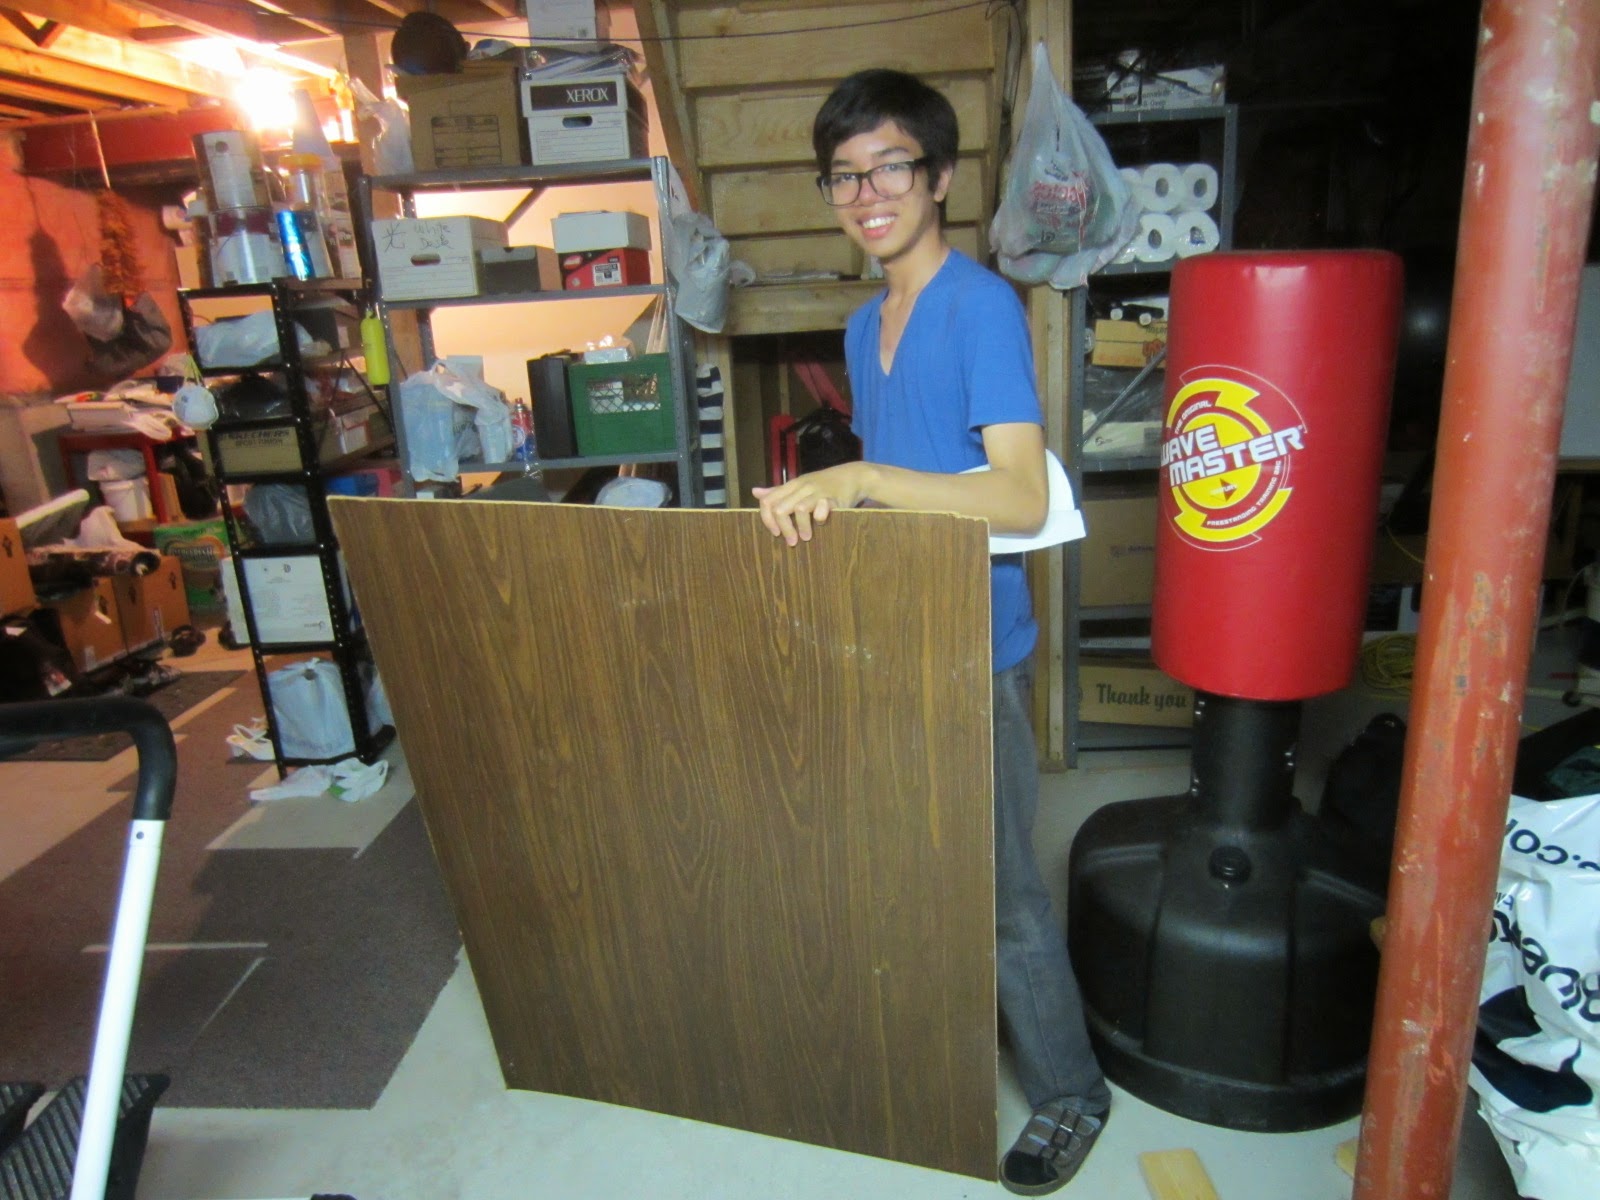
My basement is a wonderland of random materials including scraps of wood, fabric, canvas, and most things you would ever need for any DIY project. Flooring for the cage had to be waterproof, chew-proof, and something easily cleaned. We found this piece of finished wood in the basement that was massive. I believe it used to be a table top? For the largest table in existence maybe. I wish I took a before photo because that was a mission and a half to cut. I never got to saw anything, so that in itself was heaps of fun. We sanded the side and carried it to the backyard to rinse off.

All clean!
All that was left was to put it all together. We swept up any old mess that was lying around and laid her floor down, then put the cage on top and began to fill it up with her belongings. Here's how it looks empty.

And here it is with the interior! We simply used components of her old cage and applied it to her new space. It broke my heart a little to see her hop into her old cage confused as to why things kept disappearing. But in the long term, this is much better for her and I'm sure she'll adjust to it before long.

I added bedding and hay all over to invite her in.

She seems to enjoy the ease of entering and exiting the cage with no more ledge of the old cage to hop over. It took her a couple hours after completion, but that night she found her way to the top shelf, but without the ramp.
The entire assembly of this project took about three hours with the two of us and the total cost was just a bit over $40 CAD. Everything else was either previously owned or found in the basement wonderland.
And a big thank you extends to Nico who helped me not only build this project, but did a lot of side research for me while I was stuck at work and scooping ice cream when I would rather be working on this. We've been planning this since the beginning of summer so I (and the bun, definitely) am ecstatic that it's finally complete!
Feel free to post any questions about DIY bun houses you may be planning on. I'd love to answer an questions or just talk about rabbits in the comments.

Ryu & co. signing out until next time.
No comments:
Post a Comment